When you’re out on the open road, exploring the world in your RV, every component plays a crucial role in your comfort and safety. But few are as often overlooked, yet as vital, as your RV steps. These unsung heroes provide safe access to your home on wheels, day in and day out. Ignoring RV Step Maintenance, Cleaning & Repair isn’t just an inconvenience—it’s a safety hazard waiting to happen.
A wobbly step, a grinding motor, or a sticky mechanism can quickly turn a joyful entry into a frustrating, even dangerous, experience. But don’t worry, you don’t need to be a seasoned mechanic to keep your steps in top shape. With a little understanding and some elbow grease, you can ensure they remain reliable and secure for countless adventures to come.
At a Glance: Your Quick Guide to RV Step Care
- Regular Cleaning is Key: Dirt, grime, and road salt are the enemies of smooth step operation. Keep them clean!
- Lubrication Prevents Headaches: Moving parts need a good, silicone-based lubricant to prevent squeaks, sticking, and wear. Do it often.
- Listen & Look: Unusual noises or visual signs of wear are early warnings. Don't ignore them.
- Safety First: Always disconnect power before working on electric steps.
- Right Parts, Right Job: When replacing components, make sure you have the correct model for your specific steps.
- Don't Overload: RV steps have weight limits; respect them to prevent bending or breaking.
The Unsung Hero: Understanding Your RV Steps
Before you can fix them, it helps to understand how your steps work. Most RVs come equipped with either manual or automatic (electric) steps, each with its own set of characteristics and common issues.
Manual RV Steps: The Simple Workhorse
Manual steps are straightforward. They typically fold out and retract by hand, relying on a system of hinges, pivot points, and sometimes a locking mechanism. They’re robust by design, but over time, accumulated dirt, rust, and lack of lubrication can make them stiff, squeaky, or even sag.
Automatic RV Steps: Convenience with Complexity
Automatic steps offer unparalleled convenience, extending and retracting with the flick of a switch or the opening of a door. This magic, however, comes from a sophisticated setup of electrical and mechanical components that, while user-friendly, are more prone to wear and tear.
- The Brains of the Operation: An RV step controller board manages the step's actions.
- The Power Source: A 12-volt DC step motor does the heavy lifting, driving the step in and out.
- The Muscle & Joints: The step gear linkage is a non-powered assembly of arms and gears that translates the motor's power into step movement.
- The Triggers: Two main switches dictate when your step moves:
- Magnetic Door Switch (Switch #1): Located in your lower door frame, this activates the step when your entry door opens and closes. A magnet on the door aligns with the switch to complete the circuit.
- Override Toggle Switch (Switch #2): Usually near the door, this switch allows you to keep the step extended while parked, even with the door closed.
- Engine Safety Feature: On many Class A or C motorhomes, steps automatically retract when the engine starts, regardless of the override switch, preventing accidental damage while driving.
Understanding these components is your first step towards effective RV Step Maintenance, Cleaning & Repair.
When Steps Stumble: Diagnosing Common RV Step Problems
Knowing what to look for—and listen for—can save you time, money, and frustration. Here’s how to diagnose issues with both manual and electric RV steps.
Universal Red Flags for All RV Steps
Some problems transcend step types, signaling a need for immediate attention:
- Squeaking: That telltale high-pitched groan? It's usually friction between moving parts—bushings, hinges, pivot points—often due to dirt buildup or a desperate need for lubrication.
- Sagging: If your step feels less like a solid platform and more like a trampoline, it means structural components like the step platforms, supporting brackets, or even the RV frame attachment points are weakening or bending.
- Sticking or Binding: Steps that don't glide smoothly, catch, or require extra force to operate are likely suffering from debris accumulation, corrosion, or misalignment in their folding mechanism.
- Loose or Missing Hardware: Bolts, nuts, and rivets can work their way loose over time due to vibrations. This is a simple fix but can lead to bigger problems if ignored.
Pinpointing Trouble in Manual RV Steps
For manual steps, a good visual inspection often tells the whole story:
- Examine Platforms: Look for rust, cracks, dents, or signs of bending.
- Check Mounting Points: Inspect where the steps attach to your RV frame for corrosion or any structural damage.
- Hinges and Pivots: Look for excessive wear, debris, or misalignment. Do they move freely?
Unraveling Electric RV Step Mysteries
Electric steps add an electrical layer to troubleshooting. The key is to logically follow the power and mechanical flow.
- Listen Carefully: When you try to activate the step, do you hear anything?
- If you hear a noise (a click, hum, or grinding): This is good news—it means power is likely getting to the motor. The problem is usually mechanical: the step motor itself, the gear linkage, or the step frame is stuck or damaged.
- If you hear no noise: The issue is likely electrical. Power isn't reaching the motor, or the motor isn't responding.
No Movement? Let's Investigate (No Noise Scenario)
When your electric step goes completely silent and refuses to budge, here’s your diagnostic path:
- Check the Switches:
- Door Magnet/Frame Switch Alignment: Ensure the magnet on your door properly aligns with the switch in the frame. A misaligned or missing magnet means the step won't get the signal to move.
- Override Switch: Make sure your override switch isn't stuck in an "off" position (if your step is supposed to be extended) or an "on" position (if it's supposed to retract).
- Verify Power:
- Fuses: Start with the simplest fix: check your RV's fuse panel for the step motor's fuse. A blown fuse means no power.
- Voltage Test: With a multimeter, test for 12 volts DC at the step motor's power cable. Activate the door switch (or override) while testing.
- Voltage Present, No Motor Movement: If you have 12V DC at the motor but it doesn't budge, the motor itself is likely faulty.
- No Voltage Present: The issue is further upstream—wiring, switches, or the controller board. Inspect wiring for loose connections or corrosion.
WARNING: Exercise extreme caution when reconnecting any plugs to the step motor or controller. The step may suddenly activate, posing a risk of injury. Keep hands and body clear.
Grinding, Groaning, or Won't Stop? (Noise Scenario)
If your step makes noise but doesn't move correctly, or tries to move but keeps grinding, it points to a mechanical issue:
- Listen to the Source: Try to pinpoint where the sound is coming from.
- Step Frame: Could be binding due to dirt or a bent component.
- Motor or Gear Linkage: A loud, continuous grinding or clicking often signals a problem with worn gears inside the motor or the linkage assembly. This typically requires removing and inspecting both the motor and the gear linkage.
For more in-depth diagnostics, always consult your step manufacturer's troubleshooting guides, like Lippert's Kwikee RV Step guides. Learn more about RV steps and the various types of steps available for your rig.
Hands-On Fixes: Repairing Your RV Steps
Once you've diagnosed the problem, it's time to roll up your sleeves and get to work.
Repairing Manual Steps: Simple Solutions
Manual steps are generally easier to repair, often requiring just basic tools and some lubricant.
- Silencing Squeaks and Sticking:
- Clean Thoroughly: Use a wire brush to remove any rust, dirt, or debris from hinges, pivot points, and sliding areas. A mild detergent and water can help.
- Lubricate Liberally: Apply a generous amount of silicone-based lubricant to all moving parts. Avoid petroleum-based lubricants (like many greases or oils) as they attract dirt and grime, making things worse over time.
- Work It In: Open and close the steps repeatedly to distribute the lubricant evenly.
- Inspect Bushings: If squeaks persist, worn plastic or nylon bushings at pivot points might need replacement.
- Firming Up Sagging Steps:
- Platform Inspection: Check step platforms for bending. Minor bends can sometimes be reshaped gently with a rubber mallet. Seriously bent or cracked platforms will need to be replaced.
- Supporting Brackets: Inspect the brackets that hold the steps to the RV. Are they bent, corroded, or loose? They might need reinforcement or replacement.
- RV Frame Attachment: Check the points where the step assembly attaches to your RV's frame. Look for cracks, excessive corrosion, or loose bolts. This might require professional attention if the RV frame itself is compromised.
- Hardware Check-up:
- Tighten Everything: Go around and tighten all bolts, nuts, and rivets. Use a wrench or socket set.
- Replace if Necessary: If hardware is missing or severely corroded, replace it with new, corrosion-resistant hardware.
Tackling Electric Step Repairs: From Fuses to Motors
Electric steps require a bit more precision and an understanding of electrical systems.
- Safety First: Disconnecting Power
CRITICAL: Before you touch anything electrical or mechanical on your automatic steps, disconnect the RV's battery. This prevents accidental activation and protects you from electrical shock or injury from moving parts. - Decoding Electrical Hiccups:
- Fuse Check: As mentioned, always start by checking the dedicated fuse for your RV steps in the main fuse panel.
- Wiring Inspection: Use a multimeter to test wiring for continuity (no breaks in the wire) and voltage. Look for any loose connections, frayed wires, or corroded terminals. Clean or replace as needed.
- Motor Test: If you suspect the motor is bad (you're getting voltage to it, but it doesn't move), you can test it directly. Refer to your RV's wiring diagram for the correct voltage and polarity. By applying 12V DC directly to the motor leads, you can bypass the controller and switches. If the motor doesn't respond, it's faulty and needs replacement.
- Controller Board Replacement: If all other electrical components (switches, fuses, wiring, motor) check out, the step controller board might be the culprit.
Replacing the Step Motor: A Step-by-Step Guide
This is a common repair for electric steps when the motor grinds or fails to move.
- Disconnect Power: Ensure the RV battery is disconnected. Then, unplug the power connector to the step motor assembly.
- Remove Old Motor: Using a 10mm socket, remove the three bolts holding the motor in place.
- Carefully Detach: Gently lower the motor, making sure to catch and retain the inner gear, any washers, and the pin that connects it to the gear linkage. These small parts are crucial!
- Transfer Components: Transfer these retained parts (gear, washers, pin) to your new motor.
- Grease (Optional but Recommended): Apply fresh grease to the gear if it looks dry.
- Install New Motor: Insert the new motor into the gearbox assembly, aligning the gear. Secure it with the three 10mm bolts.
- Reconnect Power: Reconnect the motor power plug and then the main step power (from the RV battery).
- Test Operation: Stand clear and test the step's operation.
Swapping Out the Gear Linkage
If the motor works but the steps still bind, grind, or don't move smoothly, the gear linkage assembly is often the problem. This repair requires motor removal first.
- Disconnect Power & Motor: Follow steps 1-3 from the motor replacement guide above: disconnect power, remove the motor, and retain the inner gear, washers, and pin.
- Remove Gear Assembly: Locate and remove the four nuts and lock washers that secure the main gear assembly to the step frame.
- Detach Step Arm: Remove the lock wire and pin that connect the main step arm to the gear assembly.
- Replace Assembly: Take out the old gear assembly and replace it with your new one (most new assemblies come pre-greased).
- Reinstall Motor: Reinstall the step motor using the new inner gear that comes with the replacement gear assembly. Secure with the three bolts.
- Reconnect Power: Reconnect main step power, again, staying clear of moving parts.
- Test: Verify proper step operation.
Installing a New Controller Board
A faulty controller board can manifest in erratic step behavior or complete failure.
- Disconnect Main Power: Disconnect the main connector to the step and controller unit from the RV.
- Remove Old Board: Remove any bolts securing the controller board. Leave the individual wires connected to the old board for now.
- Transfer Wires: Carefully transfer each wire one by one from the old controller to the corresponding terminal on the new controller. Taking a photo before you start can be a lifesaver here!
- Secure New Board: Secure the new controller board with the bolts.
- Reconnect Main Power: Reconnect the main plug to the step from the RV.
- Verify: Test the step's operation.
- Mechanical Meltdowns: Linkage and Lubrication:
- Inspect Linkage: Examine the entire linkage system for bent, broken, or disconnected components. Replace or realign them as needed.
- Lubricate Everything: Even if you just replaced parts, ensure all pivot points, hinges, and sliding surfaces of the linkage system are well-lubricated with a silicone-based lubricant.
- Clean the Area: Remove any debris, mud, or obstructions from the area around the steps. Sometimes, a simple stick or rock can jam the mechanism.
- General Tip for Complex Repairs: Take photos or even a short video of the disassembly process. These visual cues are invaluable when it comes to reassembly, especially with intricate linkage systems.
The Lifeline: Essential RV Step Maintenance & Cleaning
The best repair is the one you never have to make. Regular preventive maintenance is the single most effective way to extend the life of your RV steps and ensure their safe operation.
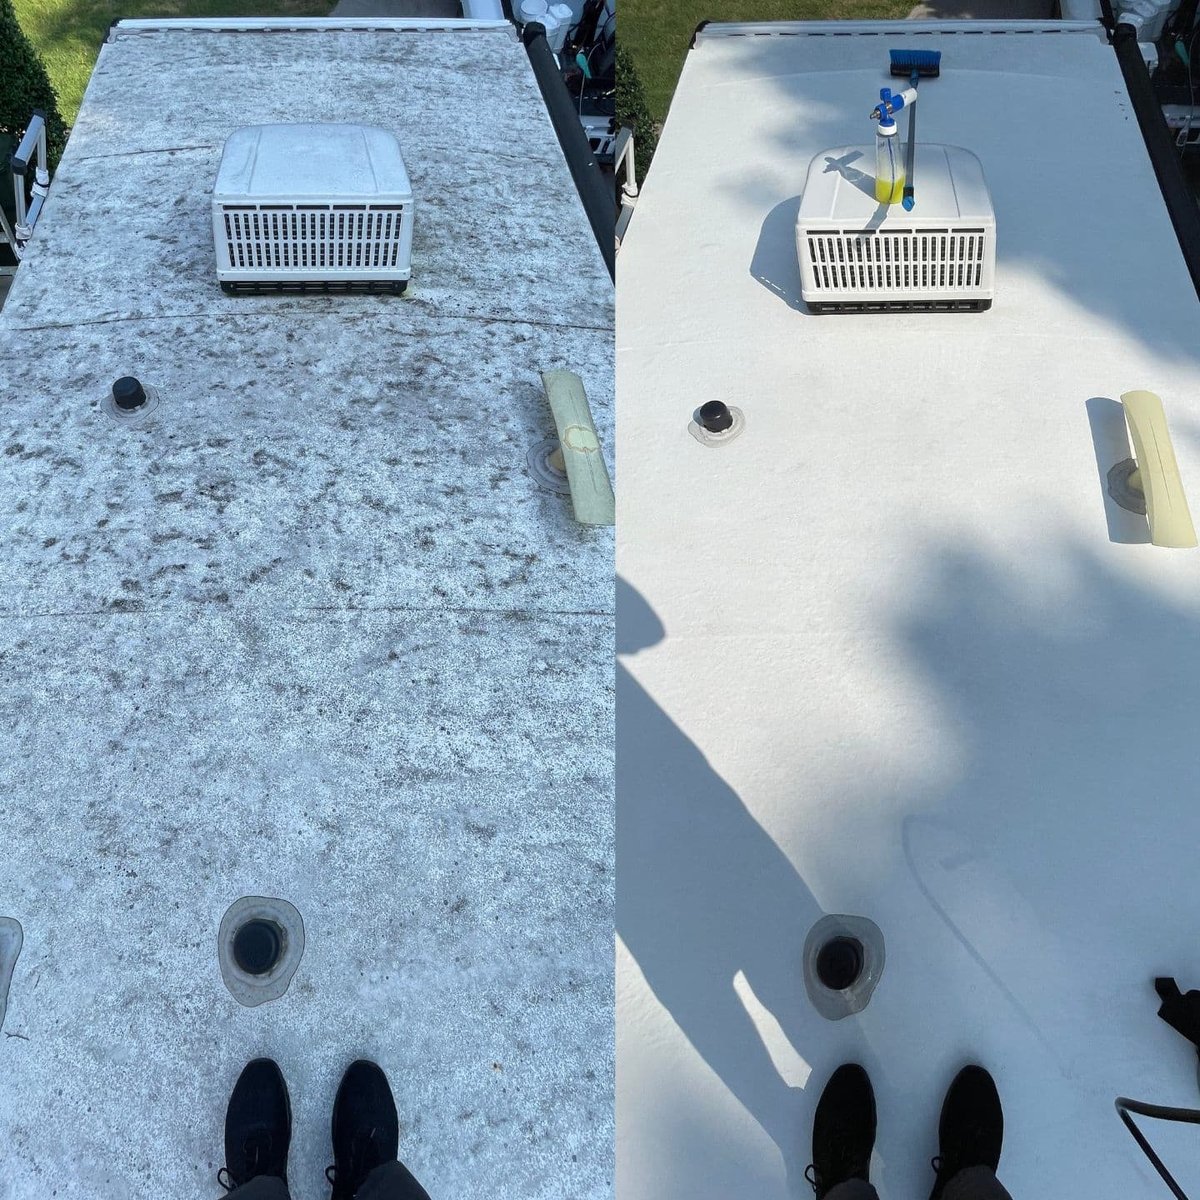
- Regular Cleaning: Your RV steps are constantly exposed to road grime, dust, mud, and corrosive road salts.
- Frequency: Clean them whenever you clean your RV exterior, or at least monthly if you're frequently on the road.
- Method: Use a mild detergent (like dish soap) and water. A stiff brush can help dislodge stubborn dirt. Rinse thoroughly.
- Periodic Lubrication: This is paramount for both manual and electric steps.
- Frequency: At least twice a year, or more frequently if you travel in dusty, wet, or salty conditions.
- Lubricant Choice: Always use a silicone-based lubricant spray. It doesn't attract dirt, provides long-lasting lubrication, and offers excellent protection against corrosion. Spray all hinges, pivot points, sliding mechanisms, and the gear linkage assembly (for electric steps).
- Hardware Checks: Vibration from travel can loosen fasteners.
- Frequency: Inspect and tighten all bolts, nuts, and rivets quarterly, or before any major trip.
- Action: If you find any loose hardware, tighten it securely. Replace any missing or severely corroded fasteners.
- Corrosion Inspection: Rust is the enemy.
- Frequency: Regularly check all metal components for signs of rust or corrosion.
- Action: Address rust promptly. Use a wire brush to remove loose rust, then apply a rust converter, primer, and rust-resistant paint to prevent it from spreading.
- Avoid Overloading: Be mindful of the step's weight capacity.
- Action: Don't use your steps as a workbench or let multiple heavy people stand on them simultaneously if it exceeds their rated capacity. This can lead to bending, sagging, or catastrophic failure.
Your Top RV Step Questions Answered
We get a lot of questions about RV steps. Here are the most common ones, answered clearly and concisely.
Q: When should I call a professional for RV step repair?
A: If you lack electrical or mechanical repair experience, the problem seems complex, or you're simply uncomfortable working under your RV, professional repair is highly recommended. Prioritize your safety above all else.
Q: What’s the best lubricant for RV steps?
A: A silicone-based lubricant is ideal. It doesn't attract dirt and grime, provides long-lasting lubrication, and offers excellent protection against corrosion.
Q: How do I determine the correct replacement parts for my RV steps?
A: Look for a sticker or plate on your steps—it usually contains the manufacturer's name and model number. With this information, consult the manufacturer's website or an RV parts dealer.
Q: Is it okay to use WD-40 on my RV steps?
A: WD-40 is good for penetrating rust and loosening stuck parts, but it's not a long-term lubricant. It attracts dirt and evaporates quickly. After using WD-40 to free a sticky mechanism, always follow up with a silicone-based lubricant for lasting protection.
Q: Can I weld broken step components?
A: Welding is viable only if you possess the necessary welding skills, equipment, and knowledge of structural integrity. Improper welding can create a significant safety hazard, potentially leading to step collapse. When in doubt, replace the component.
Q: Why does my electric RV step make a grinding noise?
A: A grinding noise typically indicates a problem with the step motor or the gear linkage. This could be due to worn gears, insufficient lubrication, or a broken/misaligned linkage component. Inspection of both the motor and linkage is usually required.
Q: How often should I lubricate my RV steps?
A: At least twice a year is a good baseline. If you frequently travel in harsh conditions (dusty, wet, salty), lubricate them more often, perhaps every 2-3 months.
Q: My manual steps are really difficult to pull out or push in. What's wrong?
A: This usually points to a need for thorough cleaning and lubrication of all moving parts. Also, check for any obstructions, misalignment, or severely worn bushings or hinges that might be binding the mechanism.
Q: What are the dangers of ignoring RV step damage?
A: Ignoring damage can lead to serious injuries. A loose, sagging, or malfunctioning step can cause falls, leading to sprains, fractures, or worse. In extreme cases, a step could collapse, causing significant injury or property damage.
Q: How do I clean heavily rusted RV steps?
A: Start by using a wire brush (or a wire wheel on a drill) to remove all loose rust. Then, apply a rust converter product, which chemically transforms rust into a stable surface. Once cured, prime the steps with a rust-inhibiting primer and finish with a rust-resistant exterior paint.
Q: What's the average lifespan of RV steps?
A: The lifespan varies greatly depending on the type of step, frequency of use, environmental conditions, and—most importantly—the quality of maintenance. With proper RV Step Maintenance, Cleaning & Repair, components can last many years, though specific parts like motors or bushings may need periodic replacement.
Q: Are there aftermarket stabilizers for RV steps?
A: Yes, aftermarket stabilizers are available for both manual and electric steps. These can provide additional support, reduce wobbling, and improve overall safety and comfort, especially on uneven terrain. They're a great option if you find your steps feeling less secure.
Stepping Forward Safely: Final Thoughts
Your RV steps are more than just a convenience; they are a critical safety feature. By committing to regular cleaning, lubrication, and prompt repairs, you're not just maintaining a piece of equipment—you're investing in your own safety and peace of mind on the road.
Don't wait for a grinding noise or a wobbly platform to remind you. Make RV Step Maintenance, Cleaning & Repair a regular part of your RV routine. A little proactive care goes a long long way in ensuring your steps provide safe, reliable access to your mobile sanctuary, trip after trip.